
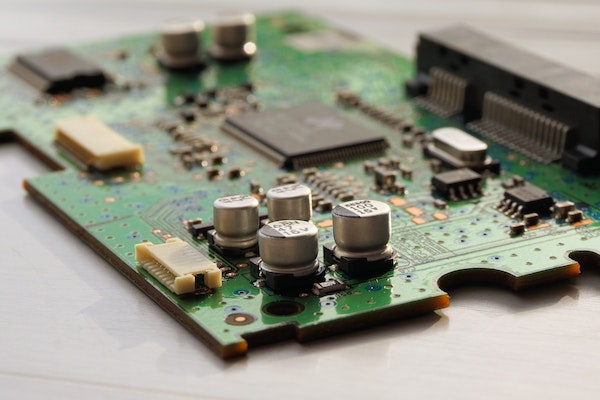
Surface Mount Devices (SMD) have become increasingly popular due to their compact size and high performance. However, when it comes to repairs, desoldering SMD components can be a challenging task. Hot air rework station provide a reliable solution for removing SMD components without causing damage. In this article, we will delve into the step-by-step process of desoldering SMD components using hot air station, ensuring successful removal while preserving the integrity of the surrounding circuitry.
Step 1: Gather the Necessary Tools and Equipment
Before diving into the desoldering process, ensure you have the following tools and equipment:
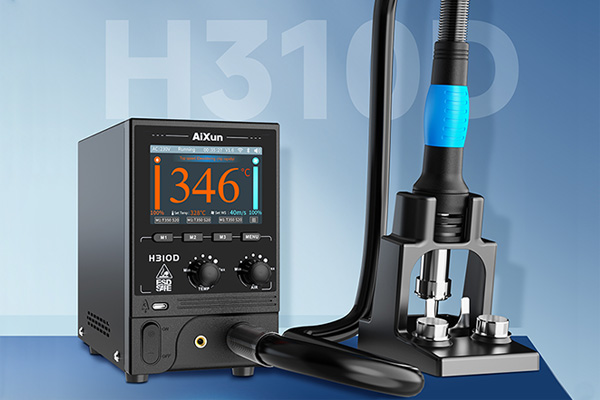
Hot air rework station: Invest in a high-quality hot air rework station with adjustable temperature and airflow control.
Soldering iron and soldering wire: You may need these to touch up solder joints or remove excess solder.
Tweezers and/or a fine-pointed pair of pliers: These tools will help in handling and removing the SMD components.
Flux: Apply flux to the joints to improve solder flow and facilitate the desoldering process.
Solder wick or a desoldering pump: These tools aid in removing excess solder after desoldering.
Step 2: Prepare the Work Area
Creating a clean and organized work area is crucial for a successful desoldering process. Clear the workspace of any unnecessary items and ensure good lighting for clear visibility. If possible, use an anti-static mat or grounding strap to avoid static damage to sensitive components.
Step 3: Set Up the Hot Air Rework Station
Follow the manufacturer's instructions to set up and calibrate your hot air rework station. Adjust the temperature and airflow settings based on the component you are working with and the surrounding circuitry. Generally, lower temperatures and controlled airflow are preferred to minimize the risk of overheating nearby components.
Step 4: Apply Flux
Using a fine brush or a flux pen, apply a small amount of flux to the SMD component's solder joints. Flux improves the wetting action of the solder and helps in evenly distributing heat during the desoldering process.
Step 5: Apply Heat
Position the hot air nozzle a few centimeters away from the SMD component to create a controlled heat zone. Gradually increase the temperature and airflow until the solder reaches its melting point. Keep the hot air nozzle moving in a circular motion to evenly distribute the heat and prevent localized overheating.
Step 6: Remove the SMD Component
Once the solder has melted, use tweezers or fine-pointed pliers to gently lift the SMD component from the board. Avoid excessive force to prevent damage to the component or surrounding circuitry. If the component doesn't come off easily, reapply heat and gently nudge it until it loosens.
Step 7: Clean Up
After removing the component, inspect the solder joints for any remaining solder or debris. Use solder wick or a desoldering pump to remove any excess solder from the pads. Clean the area with isopropyl alcohol and a soft brush or cloth to ensure a clean surface for the new component or further repairs.
Desoldering SMD components with hot air requires a methodical approach and careful execution to ensure success. By following the step-by-step process outlined in this guide, you can confidently tackle SMD component removal while minimizing the risk of damage to the surrounding circuitry. Remember to practice caution, use appropriate tools, and maintain proper workspace hygiene for optimal results.
 WhatsApp