Soldering circuit boards is a fundamental skill for anyone interested in electronics, whether you're a hobbyist, DIY enthusiast, or aspiring technician. Soldering allows you to create reliable connections between components, ensuring the proper functioning of electronic devices.

Soldering circuit boards can seem daunting for beginners, but with practice and patience, it can become a manageable skill. The difficulty level largely depends on the complexity of the circuit board and the size of the components involved. Here are some factors to consider:
Skill Level: If you are a beginner with no prior soldering experience, it may take some time to develop the necessary hand-eye coordination and technique. However, with practice, you can improve your skills and become proficient in soldering circuit boards.
Component Size: Smaller components, such as surface-mount devices (SMDs), can be more challenging to solder due to their tiny size and close proximity on the circuit board. It requires precision and steady hands to solder these components accurately.
Board Complexity: Circuit boards with intricate designs and densely populated components can present challenges. Routing wires, avoiding solder bridges, and navigating tight spaces can require more advanced soldering techniques.
Soldering Equipment: The quality and functionality of your soldering equipment can affect the ease of soldering. Investing in a good soldering iron with adjustable temperature control and a fine tip can make the process smoother.
Practice and Technique: Soldering is a skill that improves with practice. Taking the time to practice on scrap boards or practicing specific techniques, such as drag soldering or rework, can help build confidence and proficiency.
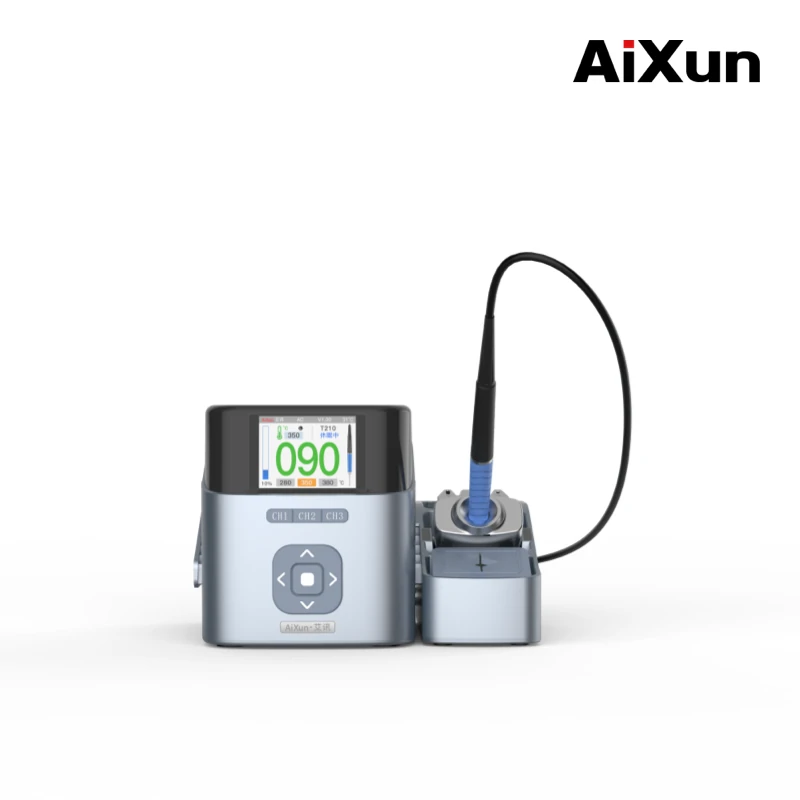
Yes, a soldering station is commonly used for soldering circuit boards. In fact, a soldering station provides several advantages over a basic soldering iron, making it a preferred choice for many soldering tasks.
A soldering station typically consists of a power supply unit and a detachable soldering iron. The power supply unit allows for precise temperature control, which is crucial for soldering delicate components and ensuring proper solder flow.
Using a soldering station offers the following benefits when working with circuit boards:
Temperature Control: Soldering stations have adjustable temperature settings, allowing you to set the temperature according to the specific requirements of the components and the circuit board. This ensures optimal heat transfer and avoids overheating, which can damage the board or components.
Stability and Durability: Soldering stations provide a stable and reliable power supply, ensuring consistent heating during soldering. They are designed for extended use and are less likely to experience fluctuations in temperature or power output compared to basic soldering irons.
Fine Tip Options: Soldering stations often offer interchangeable tips, allowing you to select a tip size and shape that suits the specific soldering task. This flexibility is particularly useful when working with different component sizes and locations on a circuit board.
Additional Features: Some soldering stations come with extra features such as temperature presets, digital displays, and programmable settings. These features can enhance the soldering process and provide greater control and convenience when working with circuit boards.

We will walk you through the process of soldering circuit boards, providing step-by-step instructions and essential tips for beginners.
Step 1: Prepare Your Workspace and Tools
Before you begin soldering, set up a clean and well-lit workspace. Gather the necessary tools, including a soldering iron with a suitable tip, solder wire, flux, desoldering tools, a soldering stand, and safety equipment such as safety glasses and heat-resistant gloves.
Step 2: Understand the Components and Circuit Board
Familiarize yourself with the components and their respective positions on the circuit board. Identify the solder pads, which are typically small metal areas where the components will be soldered. Take note of any polarity markings or specific orientations required for certain components.
Step 3: Heat Up the Soldering Iron
Plug in the soldering iron and allow it to heat up to the appropriate temperature for your specific project. Refer to the manufacturer's guidelines or component datasheets for the recommended temperature range. Ensure the soldering iron is securely placed on its stand to prevent accidents.
Step 4: Apply Flux to the Solder Pads
Apply a small amount of flux to each solder pad using a flux pen or brush. Flux helps remove oxidation and promotes better solder flow, resulting in stronger connections. Be careful not to apply excessive flux, as it can lead to unwanted solder bridges.
Step 5: Tin the Soldering Iron Tip
Clean the soldering iron tip using a damp sponge or brass tip cleaner to remove any oxidation or debris. Once clean, apply a thin layer of solder (tinning) to the tip. This ensures better heat transfer and improves the soldering process.
Step 6: Position the Component and Solder
Hold the component in place on the circuit board, aligning it with the correct orientation and ensuring the leads or pins are properly inserted into the corresponding solder pads. With one hand, hold the soldering iron and with the other hand, hold the solder wire.
Step 7: Heat the Solder Pad and Component Lead
Bring the soldering iron tip in contact with both the solder pad and the component lead simultaneously. Hold the tip in place for a few seconds to allow the heat to transfer and ensure proper bonding.
Step 8: Apply Solder and Form the Joint
While the solder pad and component lead are heated, gently touch the solder wire to the junction between the two. The heat from the soldering iron will melt the solder, which will flow and coat the joint. Apply enough solder to create a smooth, shiny, and concave solder joint, ensuring sufficient coverage but avoiding excessive buildup.
Step 9: Allow the Joint to Cool and Solidify
Once the joint is formed, remove the solder wire and soldering iron. Hold the component and circuit board steady for a few seconds, allowing the joint to cool and solidify. Avoid moving or disturbing the joint until it has completely solidified to prevent any defects.
Step 10: Inspect and Clean the Soldered Joints
Inspect the soldered joint visually to ensure it is smooth, shiny, and free from defects such as solder bridges or cold joints. Use a magnifying glass if necessary. If any issues are identified, use desoldering tools to remove the faulty joint and repeat the soldering process.

How to solder circuit boards is a skill that anyone can learn with practice. By following the step-by-step guide and paying attention to the details, you'll be on your way to creating reliable connections for your electronic projects. Remember to prioritize safety, take your time, and keep practicing. Soon enough, you'll become really good at soldering circuit boards, and that opens up a whole new world of possibilities for your electronic creations. So, get ready to have fun and enjoy the journey of learning this valuable skill!
 WhatsApp