
A. Soldering is a process in which two or more metal parts are joined together by melting and then flowing filler metal into the joint - filler metal has a relatively low melting point.
B. Soldering is used to form a permanent connection between electronic components.
C. Heat the metal to be soldered with a soldering iron and melt the solder into the connection point.
a) Only the solder is melted, not the part being soldered.
b) Solder is a metal "glue" that holds parts together and forms connections that allow current to flow.
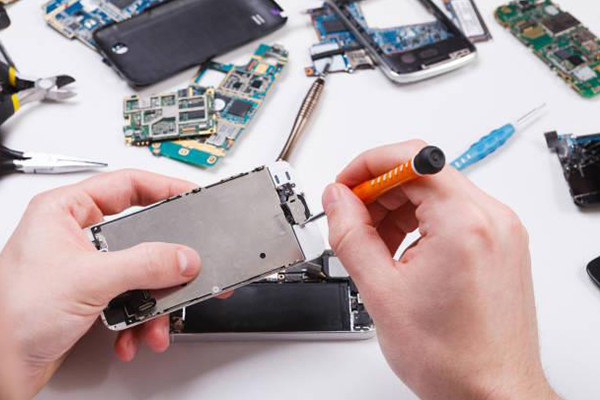
D. You can make a test circuit using a solderless breadboard, but if you want the circuit to last for more than a few days, you will need to solder the components together.
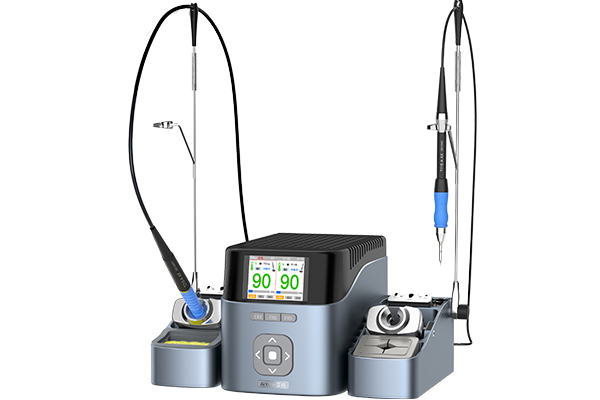
①Use a soldering iron with proper thermal control
②Use solder wire of appropriate alloy
③ Use flux-cored wire in electrical work.
④ Obtain the necessary circuit boards and components.
⑤ Find a clip to clamp the component.
⑥ Prepare the components for soldering.
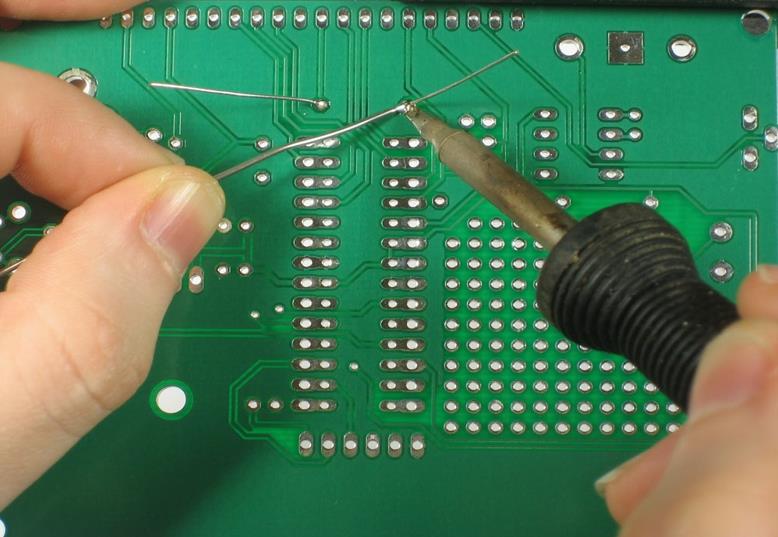
A. Tinning, melt a small piece of solder on the end of the soldering iron. This process is called tinning, and it helps improve heat flow between the soldering iron and the leads and pads, shielding the board from prolonged high temperatures.
B. Put the solder wire to the interface between the pad and the lead. Solder wire flux is only at its best for a short time after it has melted onto the solder joint. It burns off slowly (it's the smoke on the solder joints) and loses its effect in the process. Component leads and pads should be heated enough to melt the solder to the connection points. The molten solder should "stick" to the pads and leads by surface tension. This is often called wetting.
C. When soldering, be very careful and only do it in a proper environment. Be sure to solder in a well-ventilated area with respiratory and eye protection equipment. When the iron is on but not in use, make sure to place the iron securely (use a fire stand or holder). A soldering iron can easily burn the work table or paper or plastic, causing a fire. Be sure to use a thermal pad or wood plank to protect the area.
D. When all surfaces are wetted, stop adding new solder. When the gap is filled and the surface is wet, you should stop adding more solder. For most joints, no more than a drop or two of solder should be used, but there will be slight variations on different parts. The usage amount of solder is determined by the following factors.
E. Be sure to move quickly when soldering. Otherwise, too much heat can easily damage components or circuit boards. In most cases, you can keep components and boards safe by moving quickly. Putting a finger on a nearby board may help notice excessive heat. Consider using a heat sink to protect sensitive components. Some components (diodes, transistors, etc.) are susceptible to thermal damage and require a small aluminum heat sink on the leads on the other side of the PCB. Small aluminum heat sinks can be purchased in electronics stores. You can also use a small heat sink (miniature).
F. When the solder is properly painted, the solder will be shiny rather than dull. The visible signs is the best way to know if your solder joints are good. Solder must melt on the surface of the electronic component or PCB, not the tip of the soldering iron. This way, when the solder cools, it forms a tight bond with the metal surface.
G. Be sure to keep the soldering iron and circuit board clean during soldering. Burnt flux, rosin in the solder core, or plastic sheathing on the wires can all contaminate the tip. These contaminants can prevent proper fusion between electronic components. This is not desirable because it increases the electrical resistance and also reduces the mechanical strength of the solder joint. A clean soldering iron tip is shiny with no burnt debris on it.
H. Wait for the solder to cool completely before moving the electronic component circuit board. The solder material will remain soft for a while with little visual indication, and no visible sign is shown when the sticky phase is over. For most electronics, the cooling time should only be a few seconds; large components are heavier, which can be difficult to heat sufficiently to solder and require longer cooling times to solidify.
①If a soldering iron is heated to around 400°C, it may burn you or cause a fire, so please use it carefully.
②Unplug the iron when not in use.
③ Keep the power cord away from places where it may trip.
④Be careful not to touch the tip of the soldering iron on the power cord. There is a risk of serious burns and electric shock if the hot iron contacts with the power cord.
⑤ When not in use, be sure to put the soldering iron back on its stand.
⑥ Never put the soldering iron on the workbench, even for a second!
⑦ Work in a well-ventilated place.
⑧ The fumes formed when melting solder are mainly from self-flux and are very irritating. Avoid breathing by keeping the tip to the side of the job rather than over it.
⑨ There is lead which is a toxic metal in solder. Wash your hands after using solder.
 WhatsApp