Curious about the world of PCB soldering? It can be a tricky topic to jump into, especially if you have no prior experience. When PCB soldering components are on a printed circuit board, you may encounter cases of solder bridging. Solder bridging takes place the moment two solder joints connect. When the two solder joints connect, they form an undesired connection that might eventually lead to short circuits on the board.

PCB soldering is a simple process that involves soldering a PCB or circuit board.
In short, it involves mechanically and electrically joining two metal surfaces using a metal called solder. The solder holds the connection in place so that it will not come loose due to vibration or other mechanical forces. It also provides electrical continuity so that electronic signals can pass through the connection without interruption. A soldering iron is used to melt the solder.
Flux is used to clean and prepare the surface, allowing the molten solder to flow (or "wet") and bond to the metal surface.
Manual soldering is the process of soldering one connection (called a "joint") at a time, as opposed to more automated soldering processes, such as wave soldering (for through-hole assemblies) or reflow soldering (for SMT assemblies).

When soldering on a circuit board, the following three factors must be considered:
Solder joint size
Soldering iron contact time of the soldering surface
Soldering iron pressure on the solder joints
1. The size of the solder joint
The size of the solder joint affects the time required for flux activation and solder melting.
Larger solder joints require more heat to melt the solder. Larger solder joints should use a higher wattage soldering iron. In addition, a larger tip should be used on the iron.
The most important thing to consider when choosing a soldering iron tip is the amount of thermal connection between the solder joint and the iron. The thermal connection is the area of contact between the solder joint and the iron.
2. Soldering
After selecting the correct size and shape of the soldering iron tip, you should consider how long the iron will be in contact with the solder joint. The correct time for soldering is between 2 and 4 seconds.
This is usually enough time for the flux to activate, the solder to melt and flow into the joint. More or less time will result in poor soldering results. Too little time will result in a cold solder joint and too much time will result in damage to the board and electronic components.
3. Pressure
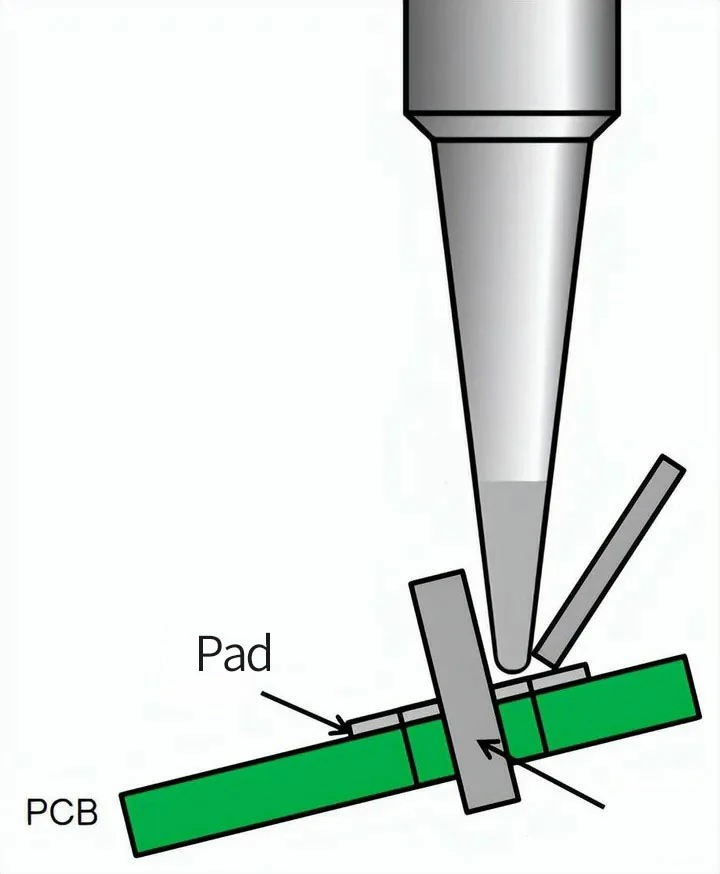
The soldering iron should be held at a 45 degree angle to the surface of the board and pressure should be applied gently, using the iron as a pen. The level of pressure applied with the soldering iron during the soldering process should only be sufficient to hold the iron in the desired position. Excessive pressure will eventually cause the pads and traces on the printed circuit assembly to lift and become damaged.
Many times I have seen beginners push the soldering iron hard onto a solder joint while soldering. This happens when they use too small of an iron bit on a large solder joint and therefore fail to melt the solder. It also happens when they use a low power soldering iron. Although they desperately try to make up for the lack of heat by applying more pressure to the solder joint with the iron. But obviously, this is a wrong soldering technique that can lead to damage to the board.
 WhatsApp